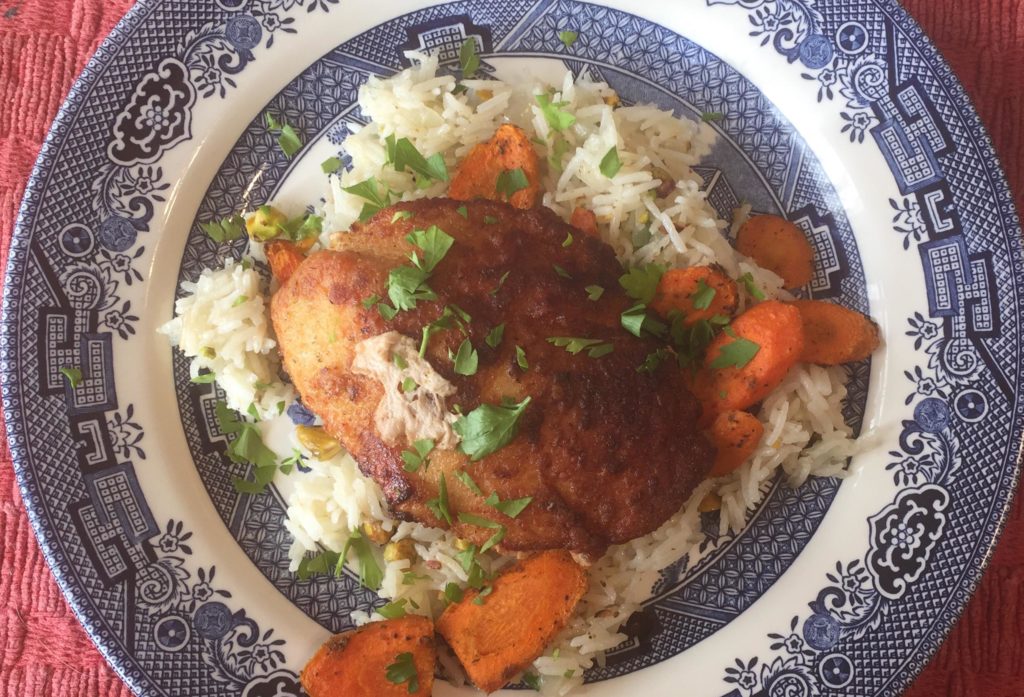
Category: Methods (Page 1 of 2)

Meal Kit Review: Plated’s Persian Chicken with Carrots & Jeweled Rice

Rating 8/10

One of the things I like most about cooking from meal kits are the little things I learn that, despite cooking for the last 30 years of my life, I have not figured out on my own. Sometimes they are techniques, and sometimes they are simple recipes. This time, it was a bit of both. I have cooked rice before by sauteing an onion and then the raw rice before adding the water. But I was amazed at what adding just a stick of cinnamon does for rice. It really elevates it to another level. And simmering basmati rice for 10 minutes and then letting steam in its own heat for another 10, is a wonderful technique as well.

In all, this was another winning recipe by Plated. The chicken was good as were the carrots, and it all came well together. My picky 14-yo was happy.

I also loved how Plated sent me all the ingredients I needed, including the flour!

I paid a tad over $13 for this kit, with a welcome back promo, or about $7.65 per person,  which was quite fair for the quality of the food and the convenience.

Review: Green Chef’s Chicken Katsu

Rating 5/10

I’m getting bored writing reviews of meal kits, but I want to at least finish this project. After trying Green Chef this week, I only have one more meal kit company to try (Marley Spoon), and then I’ll be ready to give my final verdict as to which is the best Meal Kit company. But I’ll give you a hint: it’s not Green Chef. You’ll have to wait until my review of the company to hear why, however.

I made the Chicken Katsu Noodle salad with cabbage, carrots, pineapple & pickled ginger tonight and shared it with my daughter. We weren’t particularly impressed.

First, as the cook, I really resented all the needless preparation. The cabbage, pineapple and pickled ginger had already been processed and cut into strips or cubed – and yet I was told to chop them. Why not go all the way and send them chopped? Most annoyingly, the instructions asked that I cut the chicken breasts horizontally into two thin cutlets. That’s the sort of task that requires sharp knives and knife skills. I did a fairly good job of it, but it shouldn’t be left to the home cook to do this preparation.

I did enjoy the chicken, however. The chicken cutlets were dipped in tonkatsu sauce, breaded with panko crumbs, sauteed on both sides for 3 minutes and then cooked in the oven for 6 more. I really would like to know why I couldn’t just finish the whole thing on the stove (I hate having to preheat the oven), so Green Chef fails for not explaining this. But my daughter really liked the chicken and it looks like the sauce is available commercially and it’s also fairly easy to make.

The noodle salad, OTOH, was a disappointment. It lacked flavor and none of us liked it.

I also wasn’t thrilled that the meal didn’t have any exotic ingredients. At this price point, I expect it to include things I can’t easily get at my supermarket. In all fairness, it did have some very cool looking black & white sesame seeds – but that was just for show – and it did include pickled ginger in the salad, but the salad sucked.

This meal kit had 580 calories per serving. It was on the small side and I was left hungry (but then again, I didn’t want to eat the salad).

The regular price for this meal kit is ~$26. I paid $10 with a discount, and really, I wouldn’t pay more than that.

Baked Coconut Shrimp

Last night it was V-Day so I made coconut shrimp for my husband.  I’d never made them before, but it was very simple.  You just take peeled shrimp, cover it with sweetened shredded coconut, place them on a lightly greased baking sheet and cook in a preheated 400F oven for about 15 minutes (for medium shrimp), flipping once.

It’s somehow tricky to attach the shredded coconut to the shrimp.  It just falls off.  I tried putting the coconut directly on the shrimp, coating the shrimp with mango sauce or egg whites, and then dipping it on the coconut, and doing so after dusting the shrimp with cornstarch.  They all worked equally world, and Mike couldn’t tell the difference between them flavor wise.

I made a mango sauce to go with the shrimp, but Mike preferred them without it.


Broiled polenta

I have to admit it: I’m not a polenta fan.  Indeed, for a great part of my life I had a huge love-hate relationship with polenta.  I associate polenta with my grandfather Tito, who may have very well eaten it every day of his life until the day he died.  I spent a lot of time at his home as a little kid and ate a lot of polenta.  I remember it being hard and dry and completely tasteless, only made edible by adding copious quantities of queso mantecoso (then again, anything with queso mantecoso is going to taste great).  After my grandfather died I don’t think I ever ate it again –  until something by the same name became popular in posh restaurants in the 90’s.  Those versions of polenta were creamy and tasty and for years I’ve been thinking of trying to imitate them.  Part of the reason why I haven’t is that, all in all, polenta is cheap food and very caloric (in Argentina,  to have “polenta” means to be strong) but not particularly nutritious.  In any case, a couple of days ago I was looking for a recipe to make with Italian sausage and came across this one.  It asked for store bought pre-made polenta, but they didn’t have any at Grocery Outlet and I didn’t want to trek to the supermarket so I decided to make the polenta myself.  I used Marcella Hazan’s recipe because it didn’t require constant stirring for 40 minutes and the results was a creamy polenta with a nice texture that tasted absolutely horrible.  It was a bit too salty (I’m reducing salt from 1 tsp to 3/4 tsp in the recipe below) but the real problem was the taste of the polenta itself.  Next time I make it I’ll use a recipe that includes milk and other flavoring agents.

  • 4 cups water
  • 3/4 tsp salt
  • 1 cup polenta or corn meal
  • Parmesan cheese

Bring water  and salt to a boil.  Slowly whisk in the polenta.  Whisk constantly for four minutes over medium heat. Bring heat down to very low, cover and cook for 10 minutes.  Uncover and whisk for one full minute. Repeat three more times (until the polenta has cooked for about 45 minutes) and pour into a greased 8×8 glass pan.  Refrigerate for 4 hours or up to 2 days.

Pre-heat broiler.  Unmold polenta and cut it into serving pieces.  Place polenta slices onto lightly oiled baking sheet and broil for 5 minutes. Turn, sprinkle generously with Parmesan cheese and broil for an additional 5 minutes.  Serve.

Marga’s Best Recipes


Gas Grilling Baby Back Ribs

Yesterday I got some pork loin backribs (aka baby back ribs) at the supermarket. I had never made them before so I had to look up how to cook them. The method I found worked perfectly and resulted in fall-off-the-bone delicious baby back ribs. The rub I used, however, wasn’t that great so I’ll try a different one next time. This method starts with brining the ribs: baby back ribs have little fat and can get tough if not brined. This process takes at least six hours.

I was a bit surprised at how expensive the baby back ribs were. The full rack, on sale, was almost $15. For that price you can get them already cooked at Chili’s!

METHOD

1 – Put the ribs in a large, deep container and cover with 4 qts of water, 1/2 cup kosher salt and 1/4 cup of sugar. Place in the refrigerator for 1 hour.

2 – Remove the ribs from the brine solution and discard solution. Dry the ribs and rub dry rub of your choice on both sides. Return to the refrigerator and let rest for at least 1/2 hour or up to 8 hours.

3 – Remove ribs from fridge and let stand at room temperature for about 1/2 hour before grilling.

4 – Preheat grill to high for 15 – 20 minutes, covered.

5 – Turn off one of the grill burners and set the other one on medium.

6 – Place baby back ribs (your may have to cut one rack in half) over the off-section of the grill. Cover.

7 – Grill for 3 1/2 hours, turning every 1/2 hour.

8 – Baste the baby back ribs with BBQ sauce on the meaty side and grill for an additional 20 minutes.

Marga’s Best Recipes

Mashed Potatoes

A couple of days ago I made mashed potatoes to go with the short ribs I was serving for dinners (you have to have mashed potatoes if you serve short ribs!). Usually, I follow a very good recipe for buttermilk mashed potatoes from the The Zuni Cafe Cookbook. This time, however, I didn’t have either buttermilk or cream, so I had to use regular 1% milk and butter. No matter, the mashed potatoes were phenomenal. The kids couldn’t eat them fast enough. And really, given how much fat they had, no wonder! Still, if what you want are really good mashed potatoes, this is the way to do it. Now, don’t forget to warm up the milk and butter!

  • 2 or 3 large russet potatoes
  • 1/2 cup warm milk
  • 4 Tbsp. semi-melted butter
  • more salt

Put salted water to boil.  Wash and peel the potatoes.  Cut them into large chunks.  Drop into boiling water and cook until very soft.  Drain and put in a large bowl.  Mash with a potato masher. Add milk, butter and salt to taste (taste first!).  Whip on the lowest setting of an electric mixer until they’re as fluffy as you like them, be careful to not overmix.  Taste again and serve.
Marga’s Best Recipes

Frozen Banana Leaves

Yesterday I made a dish that required cooking in banana leaves, so I looked up exactly how to do it.  It was fairly easy.

You can buy frozen banana leaves at Asian and Latin markets in the US.  They are usually in the same area where they have other wrappings (eggroll skins, empanada shells, etc.).  Each package seems to have one leaf, but these are huge so you probably won’t need more than one.  They cost about $1-$1.50.  After you buy it, keep the banana leaf frozen until ready to use.

When you’re ready for it, boil water in a wide saute pan or similar.  Take the banana leaf out of the package and put it in the pan – if it doesn’t fit (and it won’t, unless you have a HUGE pan, just put one side of it, and keep moving it until the whole thing defrosts.  Alternatively, if you have a large enough pan to fit the banana leaf, just pour boiling water on it and keep it there until it defrosts.  You want the banana leaf to be flexible.

Cut off the center rib of the leaf with a knife and discard.

Then tear the leaf into sections large enough to roll your packet in.  Make it be about 5-6 times as large as the food you put inside it.  Then roll it like you would a burrito: roll it once, fold in the top and bottom corners and continue rolling it.  Secure it with kitchen string.

Fish cooked in Banana Leaves

Beef Back Ribs

Beef back ribs are often on sale at Safeway. I’ve never gotten them before because they are sold “previously frozen” (though not actually defrosted), and I tend to stay away from frozen beef, as freezing interferes with texture.  But I finally decided to give them a try.  I  cooked them by separating them into chunks of 2-3 ribs, rubbing them with a mixture of garlic & onion powder, salt and pepper and baking them, covered with foil, in a 375F oven for 2 hours.  I then uncovered them, basted them with BBQ sauce, and meant to cook them for another hour.  Well, the BBQ sauce was already burning after I checked on them 1/2 hour into the cooking so I took them out.

The ribs tested fine (despite the BBQ sauce burning), and they were tender enough (not overly so), but there was too little meat and too much fat in the huge bones. Even at $1.70 lb, it wasn’t probably a great deal given how much actual food you got out of them.  I don’t think I’d buy them again.

Peeling Chayote squash

Mika wanted squash soup for dinner the other night and chayotes were on sale, so I figured why not give them a try? I found this recipe at epicurious.com, which got great reviews, and without much consideration I decided to make it. It wasn’t my thing in particular – then again, soup never is – but it did introduce me to this vegetable.
As I was preparing to make the soup, I found out that peeling chayotes can be a bit of a challenge. Chayotes have a white, milky substance inside that can be profoundly irritant to skin. Some people complain of prolonged itching and even peeling. That was definitely not something I was looking forward to. Fortunately I also run into a method for avoiding this problem (described below). Now, I can’t say whether the method per se works, or whether chayotes just don’t irritate my skin, but in any case, I was able to peel them without any negative repercussions.
HOW TO PEEL CHAYOTES
From a Chowhound posting
Cut the chayotes in side along the longest side. Wait a couple of minutes for the white milky substance to come out and solidify. Wash the chayotes thoroughly in cold running water, washing away all the white substance. Peel with a vegetable peeler. Voila!

Roast Chicken with Lemon and Thyme

I made this epicurious.com recipe for Roast Chicken with Lemon and Thyme last night. It produced an amazingly juicy chicken that Mika couldn’t get enough of. I think it was even juicier than the rotisserie chicken I make, BUT it was quite lacking in the flavor department. The sauce that came with it was just OK.
I would use the method again: Preheat oven to 450F. Put chicken on a grilling pan (I’d rub olive oil on it and sprinkle it with salt and pepper) and roast for 20 minutes. Then reduce the temperature to 375F and cook for another hour or until it reaches an internal temperature of 180F.
But I wouldn’t bother with the sauce or even the marinade.
Marga’s Best Recipes.

« Older posts

© 2024 Marga's Food Blog

Theme by Anders NorenUp ↑

RSS
Follow by Email
Pinterest
fb-share-icon
WhatsApp
FbMessenger