Safeway had prime rib roasts on sale before Christmas, and while I haven’t been into beef lately, I couldn’t pass it up. I’m glad I didn’t, because the roast beef was delicious. I found inspiration on several recipes online, but mine was simplified to just include butter, garlic and rosemary – because I grow a lot of the latter. I neglected to take a photo, so just picture a beautiful roast.
Ingredients
1 ~5lb bone-in rib roast
4 Tbs butter, softened or melted
8 garlic cloves, peeled and minced
1 1/2 Tbsp rosemary leaves, chopped
generous kosher salt
pepper to taste
Instructions
Remove roast from fridge about an hour before you want to cook it. Remove packaging and pat dry.
Preheat oven to 500F
Mix the softened/melted butter with the garlic, rosemary, kosher salt and ground pepper.
Brush in the butter over all sides of the roast. Set on a roasting pan bone-side down. Place in the oven and roast for 15 minutes. Turn temperature down to 325F and continue roasting for about 15 minutes per pound (so 1 1/4 hrs for a 5 lb roast) for medium rare. Remove, tent with aluminum foil or cover with cloth towels and rest for at least 15 minutes.
Birria, a Mexican dish of goat or beef marinated and stewed in a sauce made with vinegar, dried chilis, garlic and herbs, is having a moment here in the US. Quesabirria tacos, tortillas filled with birria and melted cheese, are suddenly all the rage and have been added to the menus of both Mexican restaurants and taquerias all over the place, while people try to recreate them at home. It’s thus no wonder that Trader Joe’s would come up with its own, frozen beef birria.
I tried it last week and I was unimpressed. The beef just lacked flavor.
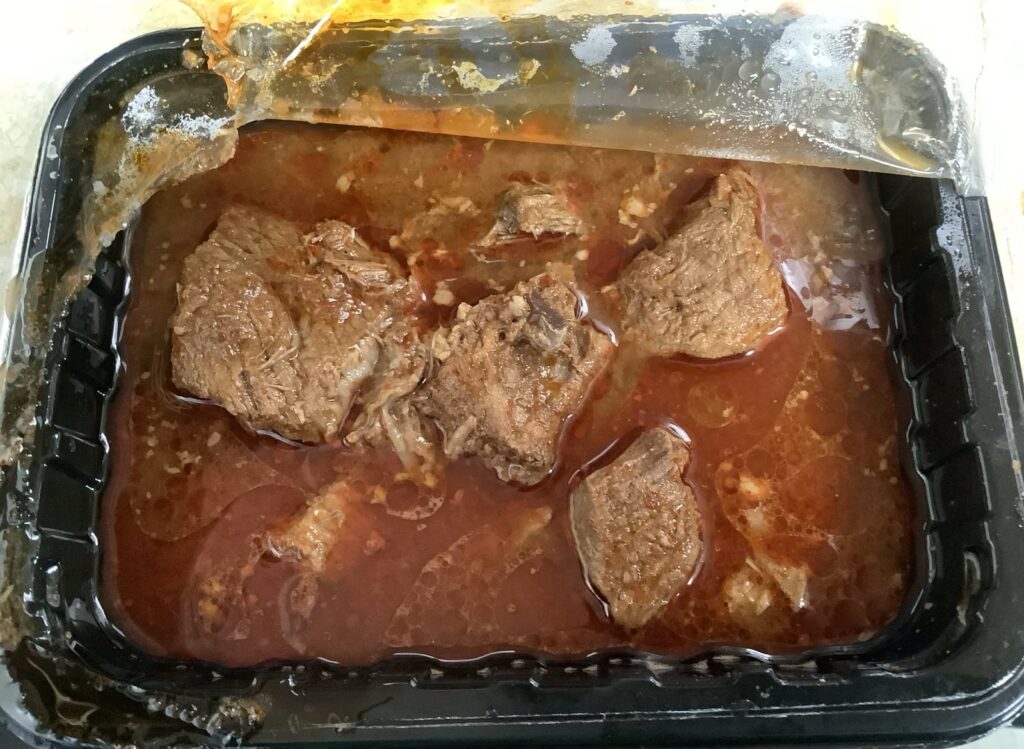
The beef comes in large boneless pieces swimming in sauce. While you have to heat it in the plastic bowl it comes in (it’s frozen, after all), you do need to transfer it to a different plate to shred it. Obviously this is still less work that making your own birria, but I’d preferred if the meat was pre-shredded. That might also have helped it draw some of the flavor from the sauce. The sauce wasn’t super flavorful either, but a bit better than the bland beef.
Now, the beef does work well if you are going to add more flavorful elements to your tacos. I didn’t have any shredded cheese at hand – and I wasn’t about to chop anything – but I added some commercial sour cream and guacamole (not usual for birria tacos) and they were better.
The 16oz dish was $8, which doesn’t seem too bad, but I wouldn’t order it again.
Tri-tip is a very Californian cut of meat, it comes from the “bottom sirloin sub primal” and it has a very distinctive triangular shape. It’s a very lean cut of meat, but quite tender, and can be grilled, roasted, slow cooked with bbq sauce or even thinly sliced for everything from bulgogi, to beef Stroganoff to stir fries. In California, you can usually buy either trimmed – with the otherwise thick layer of fat surrounding it removed – or untrimmed. The untrimmed version often goes on sale at my local Safeway, which makes it a very tempting cut to get during these times when meat prices are through the roof.
I’ve been cooking tri-tip for over twenty years, but it never occurred to me to check whether this cut was used in Argentinian cuisine. So it was only last week that I found out that tri-tip is colita de cuadril, which in Argentina is usually stuffed and then grilled. I don’t think my father ever made it, I don’t have any childhood memories of stuffed meat, beyond matambre, which is actually thin flank steak rolled around the stuffing. Of course, as soon as I ran across these Argentinian colita de cuadril recipes I wanted to ask my dad about it, but he passed away a couple of years ago. Alas, I did write about it on Facebook and tagged him – and a couple of his friends responded telling me about it. That was very sweet, and I’m writing it down here so I can remember how nice it felt.
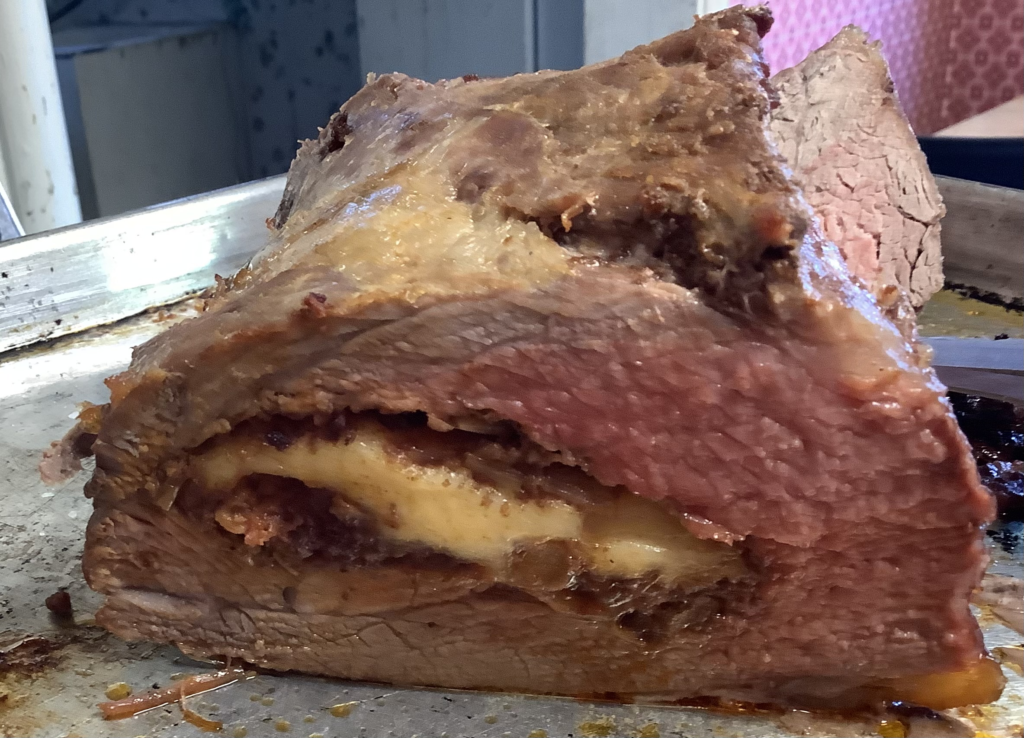
In any case, I had bought a twin pack of tri-tip roasts on sale and had used one to make Floribbean Tri-tip Roast with Chimichurri Verde, so I had another one already trimmed and ready to be stuffed. There are many ideas for stuffings online, and this one sounded particularly good. I did adapt it considerably to account for my taste and ingredients available in California (in other words, I did not use blood sausage).
I roasted the tri-tip rather than grilling it, and I overcooked it (you might want to cook it for 30 minutes total and check to see if it’s done), but overall it was a very tasty dish and I would make it again – though what I really want to do is experiment with different stuffings, so if tri-tip continues to be on sale this summer, you can expect more recipes.
The hardest part of making stuffed tri-tip is cutting the tri-tip. You want to cut as wide and deep a hole as you can without opening up any sides. I found that cutting a couple of inches deep at a time worked best. But I also found that I didn’t have a knife long enough to go all the way to the end, and my hand was too big to get inside it. I think I might invest in a long knife for future tri-tips.
Ingredients
1 tri-tip roast
1 tsp olive oil
3 thick bacon slices, cut into 1/2″ pieces
1/2 onion, chopped
1 large leek, trimmed and white and stalk thinly sliced in semi-circles
salt & pepper to taste
1 small apple, diced
1 9oz Mexican chorizo
4 – 6 oz fresh Mozzarella, cut into big chunks.
Directions
Preheat oven or grill to 300°F.
Trim excess fat from both sides of the tri-tip. Make a wide incision on the center of the larger end of the tri-tip and cut across the wide side, being careful to not pierce the sides. Continue cutting deeper and deeper, as wide as you can without piercing the sides and as far as you can get. Set aside while you prepare the filling.
Heat oil over medium heat in a sauté pan. Add the bacon bits and cook until the fat is rendered, about 5 minutes. Add the onion and cook until it starts to soften. Add the leek and cook for a couple of minutes. Season with salt and pepper to taste. Add the apple and cook for a couple more minutes. Remove the chorizo from its casing and add to the sauté pan. Continue cooking, stirring frequently, until the chorizo is cooked through.
Stuff the tri-tip alternating between Mozzarella chunks and stuffing, going as deep into the tri-tip as possible and filling it up as much as you can. If you are grilling it, tie the roast shut with kitchen string.
Transfer roast to a baking sheet and roast in the oven for about 15 to 20 minutes per side. Alternatively, place on the grill over indirect heat and cook for about an hour, turning half way.
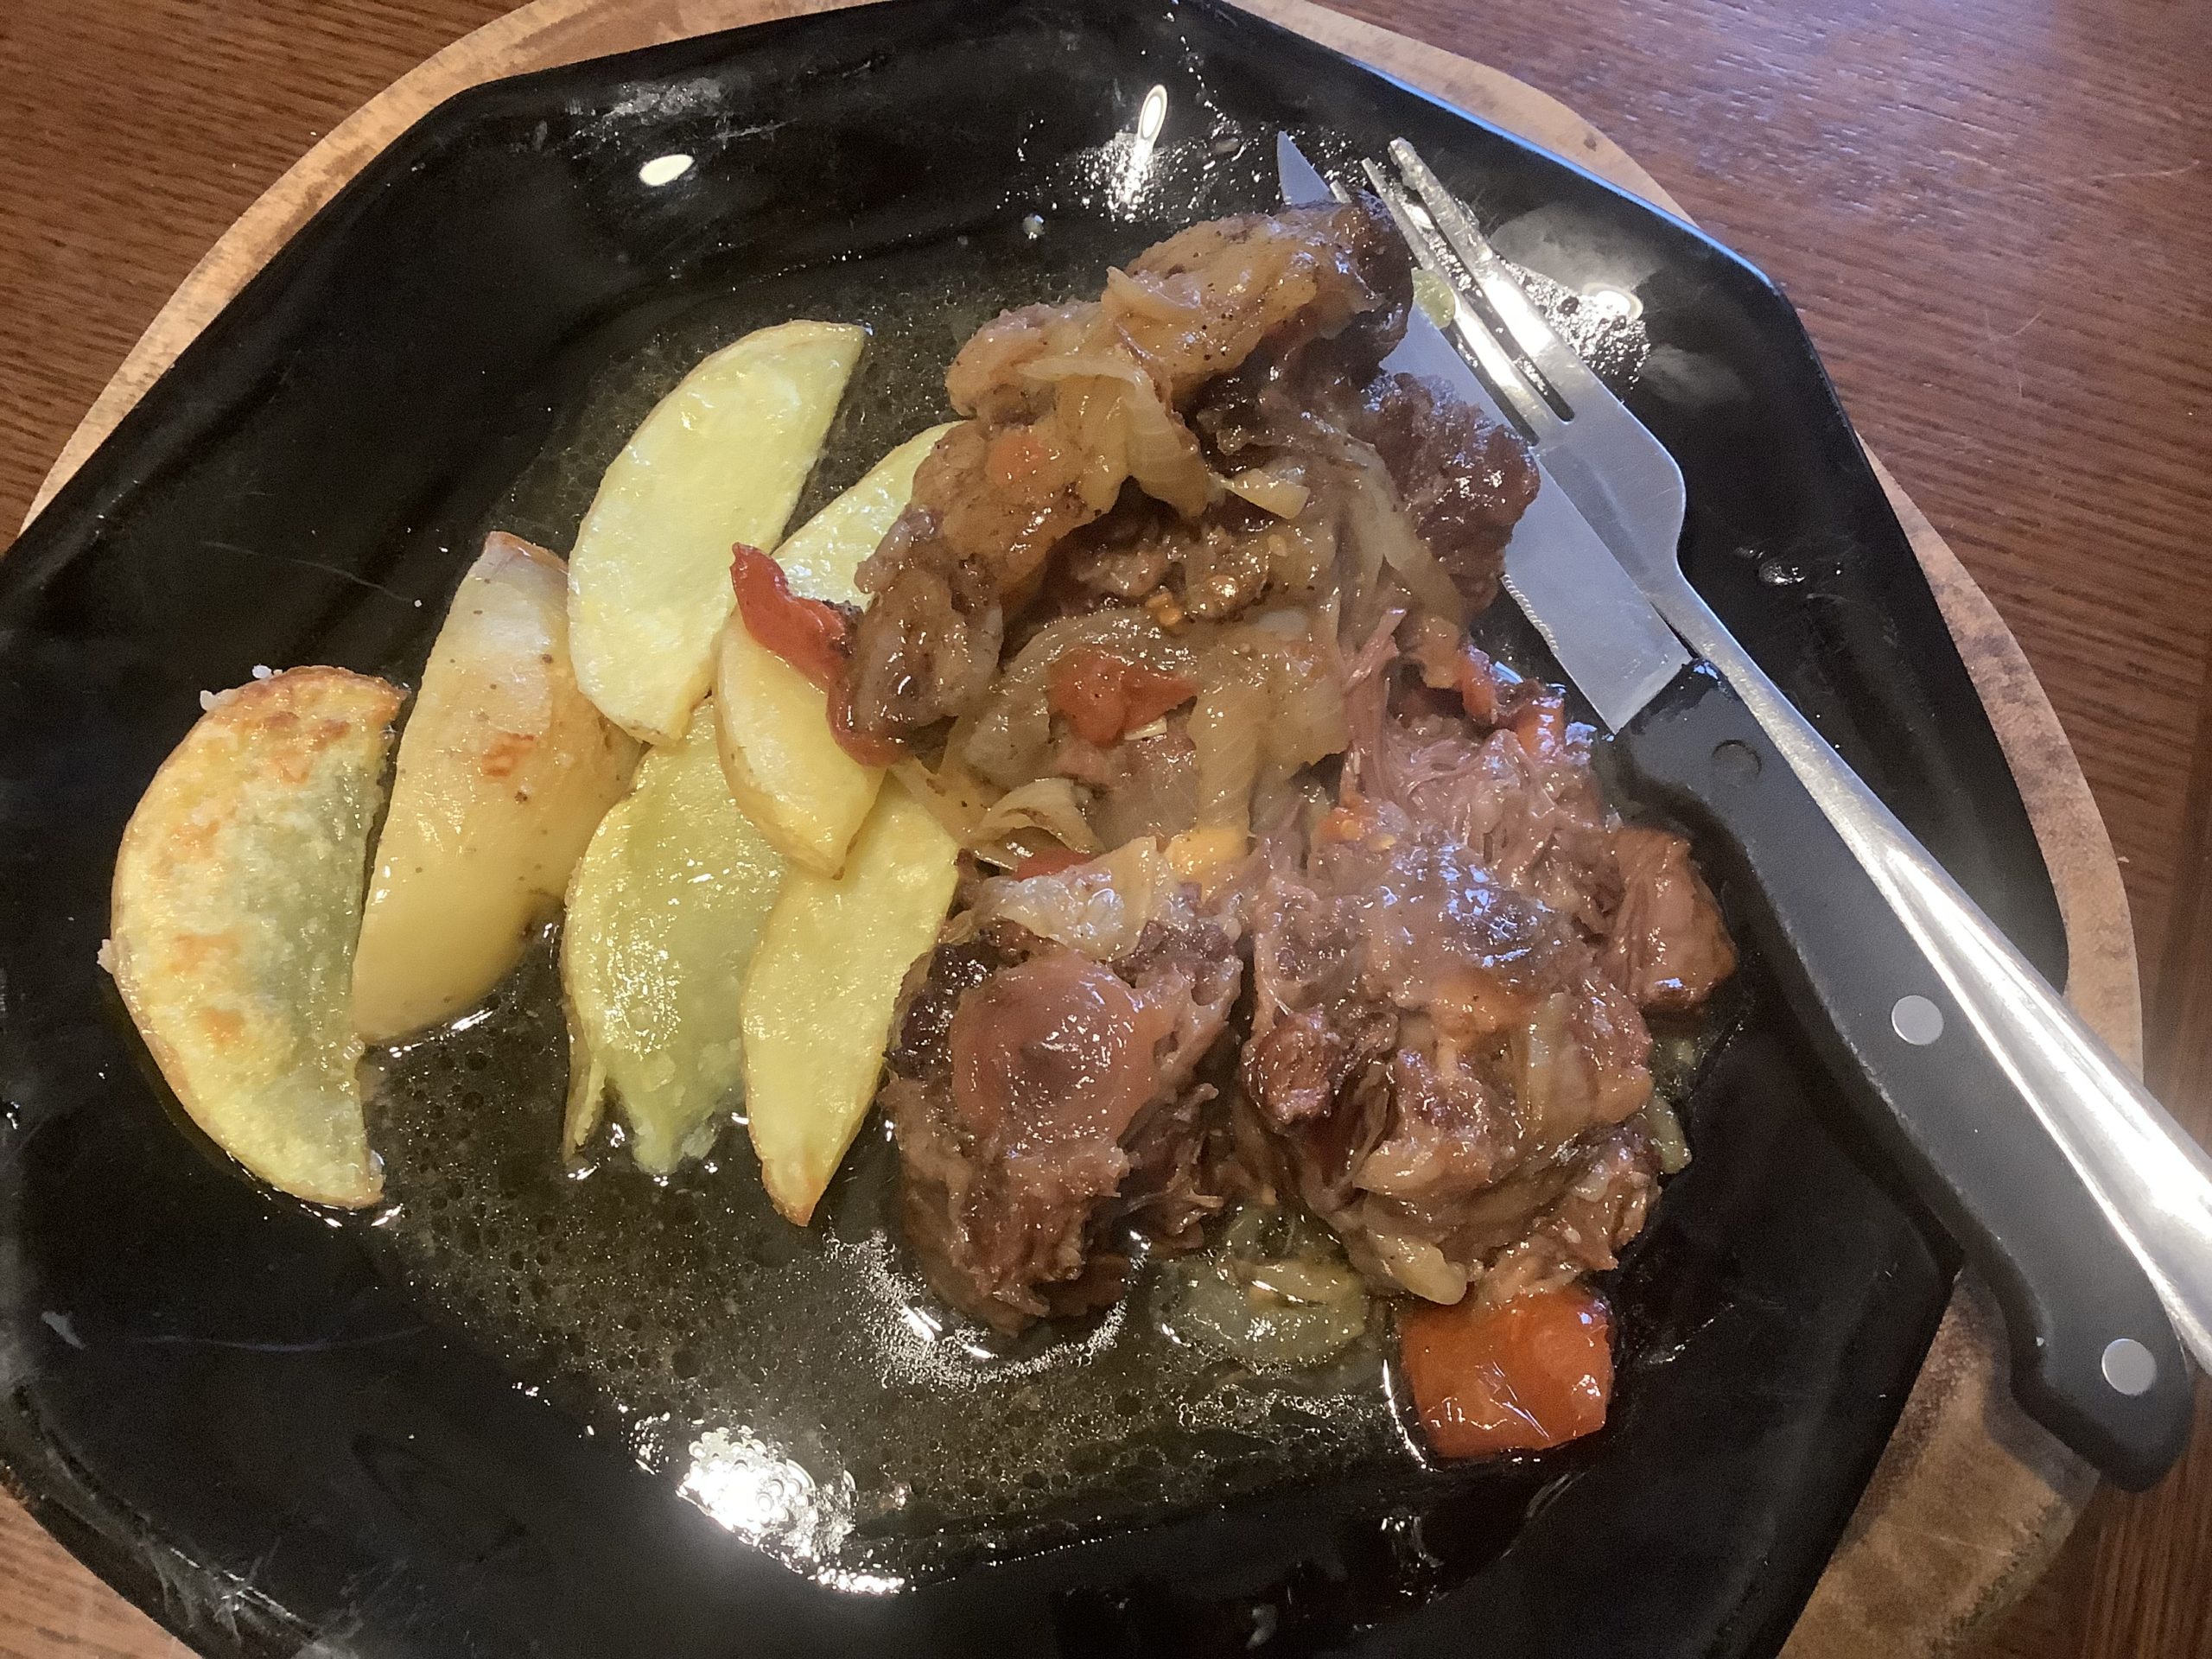
Tonight for dinner, I made a fabulous oxtail stew from a recipe from Jerez de la Frontera – I will publish it shortly. Making the stew, however, was far easier than actually procuring the oxtails. They used to be a relatively cheap cut of meat, but I guess demand has gone up as prices are through the roof and all over the place.
I ordered my first four pounds of oxtails from Safeway, as they were on sale for $7/lb. This is what passes for a very good price right now for a cut that is mostly bone, fat and gelatin and, as a result, has very little meat. As usual, I asked for no substitutions as Safeway almost invariably substitutes the meat on sale I order for far more expensive stuff. Indeed, I’ve had to call to complain about these substitutions so often, that the day before I placed this order I spoke with two different Safeway employees about the fact that I did not want any substitutions, no matter how well intentioned they were.
Anyway, I digress, but as I half expected, Safeway did not send me the 4 lbs of $7/lb oxtails I ordered, but instead sent me two small packages of vacuum packed oxtails for $13/lb! To add insult to injury, those packages included some of the thinnest bones from the tail. I was not happy. I got a refund, but was still left in need of another source for oxtails to have enough for my recipe.
What do you think Safeway guarantees 100%?
Enter Cardenas supermarket, which also had fresh oxtails on sale, for $9/lb (though closer to $11/lb when you add Instacart fees and tips). That might seem a lot, but the price of oxtails at other supermarkets was even higher. They were $10/lb at Costco, $13/lb at Raleys, $17.3 at 99 Ranch Market and $23/lb to $34/lb at Hmart! Now, these are Instacart prices, but what the hell???!!!!
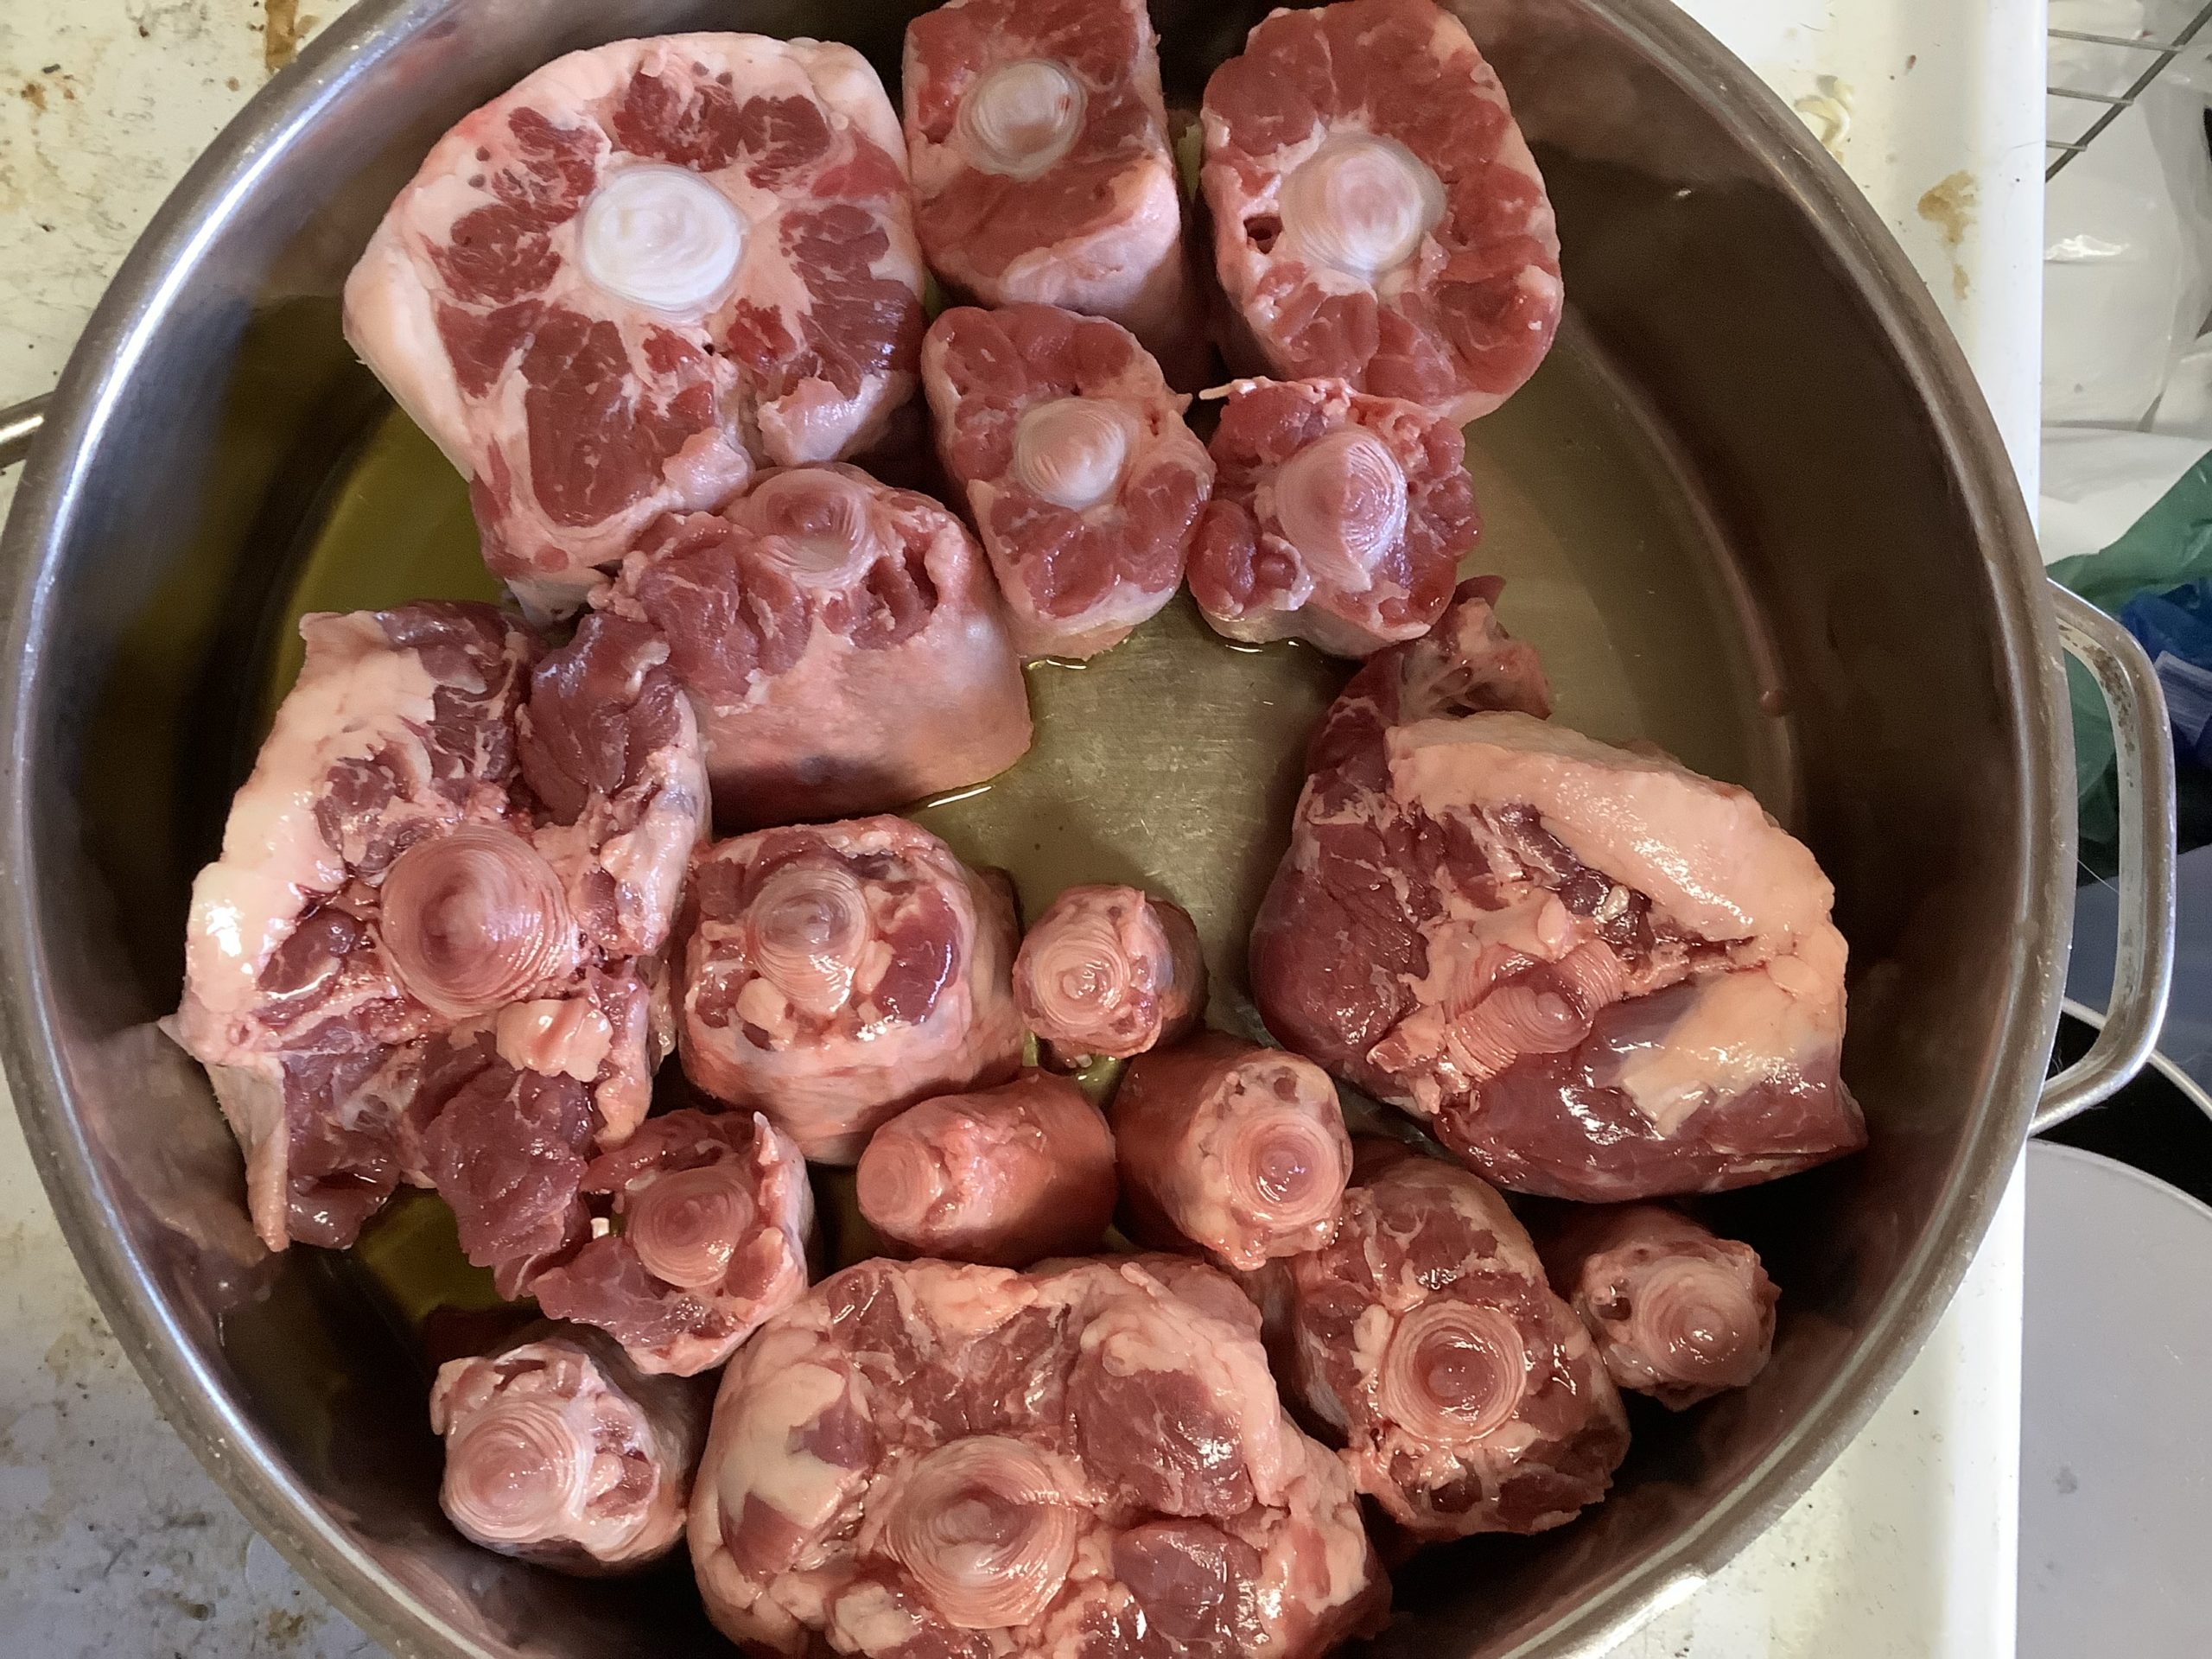
There were significant differences between the oxtails I got from Cardenas (those seen at the top of the pan) and Safeway (bottom). The former were all medium to large pieces, and had a fresh red color. The latter included quite a few small bones, and they had a weird purplish color, that didn’t quite show up in the picture, probably from the packing method. Still, once I cooked them they were all very good. Indeed, the tiny pieces had very little meat but what they had was particularly succulent, probably as it shared more surface area with the sauce.
I was telling my husband how this could have been an $80 dish if I hadn’t shopped so carefully (frankly, it’d have been more – I’d forgotten about the $16 bottle of sherry I’d pour into the stew). He said he felt it’d have been worth $80. He is a smart man.
—
Note: the link to Instacart is a referral link, if you subscribed immediately after you click on it, I might get $10 credit and you would as well. You probably can get a better deal elsewhere, though.
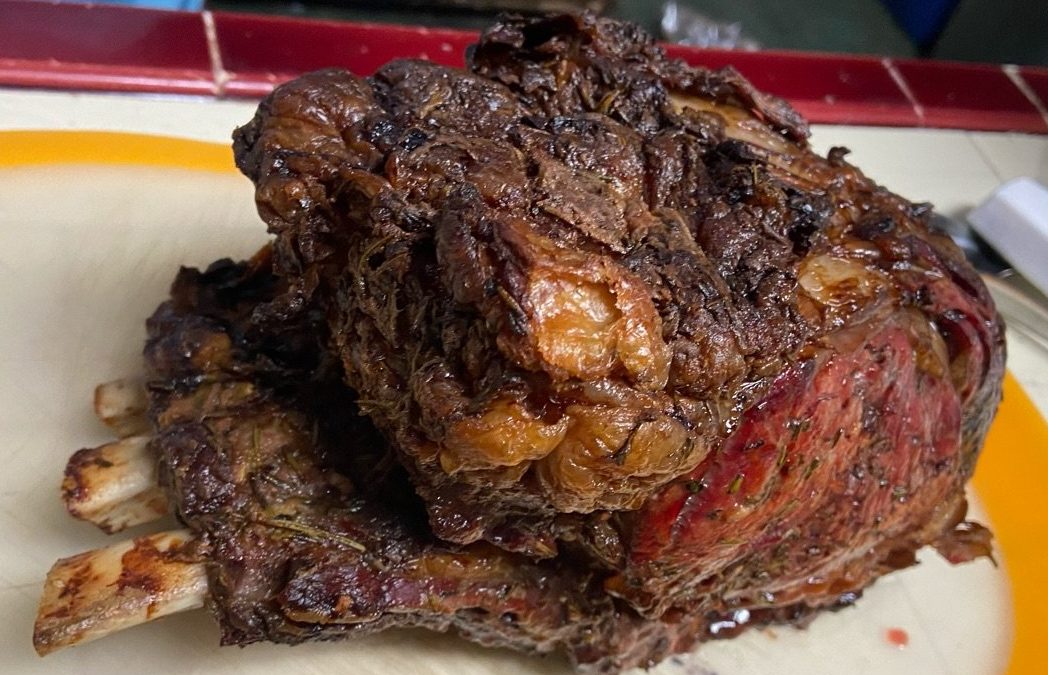
This year, I made a standing rib roast for both Thanksgiving and Christmas. The 2-rib Thanksgiving roast was bought at a local butcher. It was expensive, so much so that my husband hid the total price from me to not give me a heart attack. Still, we had had a similar roast from that butcher 16 years before and he had dreamt about it every since, the Pandemic Thanksgiving seemed like a good time to revisit it. We all loved it. My husband rated it a solid 8.5-9 in a 10 point scale.
When time came for making our Christmas menu, both of them requested a prime rib roast again. I wasn’t thrilled about cooking the same thing, and there was no way I was going to revisit that expense – but when I saw that Raley’s had the equivalent cut for $6/lb I decided to give it a go.
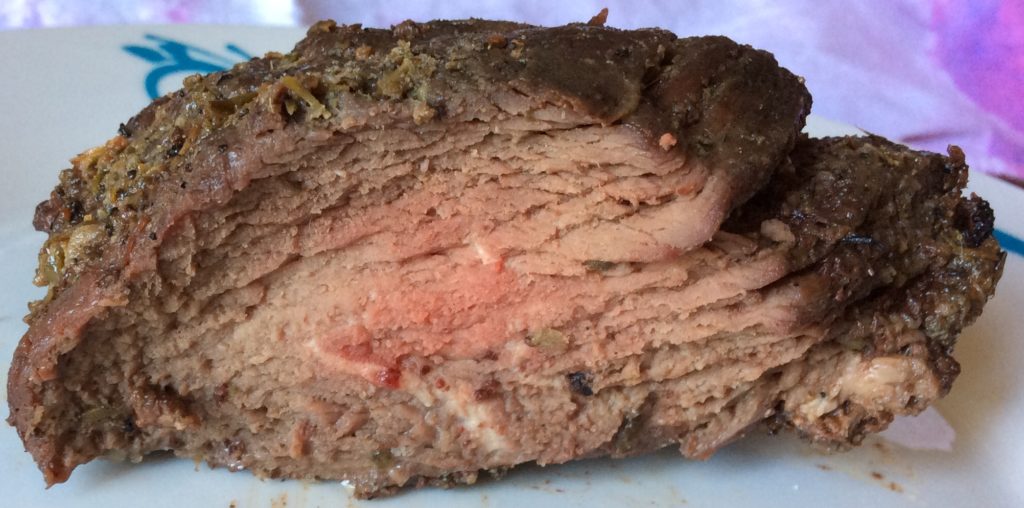
I will admit that I was apprehensive. These days you a chuck or eye of roast costs about that much. But Raley’s advertised the meat as being choice grade, so I figured why not? I was pleasantly surprised.
Even though I kept the meat in the fridge until its “sell by” date, the roast was very good, tasty and tender. Not as much as our uber-expensive Thanksgiving roast, but much more than it had any right to be for the price. My husband gave it a 7/10. I would not hesitate to serve it to guests.
And I just might, because it seems Raley’s has sales on prime rib every year around the holidays.
Finally, Raley’s advertised its roast as “Beef Ribeye Roast, Bone In” which confused me for a while. I knew that butchers call a prime rib roast devoid of bones “ribeye roast”, but I thought that if it had the bones it was called “prime rib” or “standing rib roast”. So I spent a fair amount of time researching this. You can do the same, but for all extents and purposes, if what you want to make is prime rib or a standing rib roast, this is the same thing by another name. Do remember that “prime” can refer both to this cut, but also to the grade of meat. Prime grade beef has greater fat marbling than choice grade meat, which has itself more marbling than “select”, a grade that seems to have disappeared from supermarkets in the last few years.
I wasn’t planning to buy beef tenderloin when I went to Grocery Outlet last week – but I saw it in the front case for just $6 a pound, and it seemed too much of a bargain to pass up. Really, I should have known better. As we say in Spanish, lo barato sale caro or what’s cheap, costs you more.
It’s grilling season for us (in other words, I’m happy to throw something on the grill this summer, but I’ve no desire to otherwise cook), so I coated the tenderloin with a herb mixture and then grilled it. I will admit that I overcooked it – it was much thinner in parts than your regular tenderloin – but that wasn’t really the problem. The quality of the beef was.
I can’t quite pinpoint what the problem was, maybe because it was a combination. The herb coating was great, but the rest of the beef lacked any beef flavor, if anything it had the offputting flavor of cheap meat (duh!). The texture was off as well, and it was just not enjoyable to eat.
My tenderloin was about 2 1/2 pounds so we ate maybe a third of it, and kept the rest as leftovers. It’s been several days, and none of us have reached out to eat the remaining. I may slice some and add it to nachos today, but the rest will go to the dog.
Lesson learned: don’t buy cheap beef.
Note: I don’t recall what brand it was, but it’s one often carried by Grocery Outlet – I’ll make a note of it next time I go.
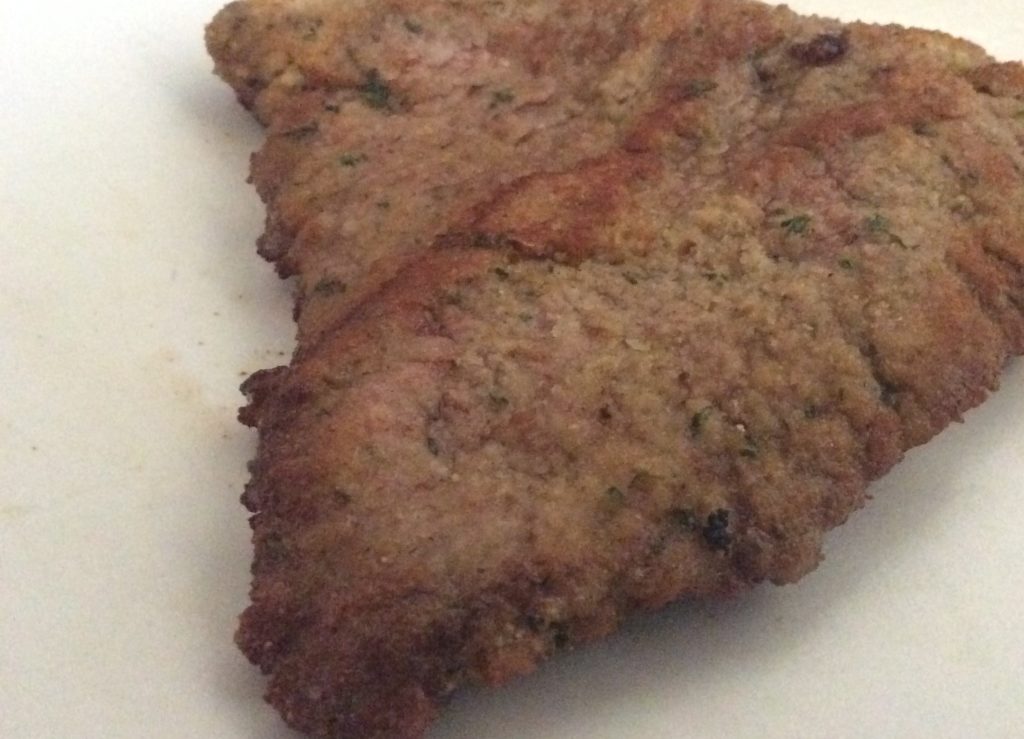
I usually use thinly cut top round to make milanesas. While the cut has an annoying fat vein in the middle, it’s very tender, the version sold by Safeway is very thin and it just works great for milanesas.
This week, however, Safeway had thinly cut bottom round at half the price as top round – so I figured that I would give it a chance and see how it worked. The answer is that it will do in a pinch, but it’s definitely inferior to top round.
First, the “thin” bottom round steaks sold by Safeway were two to three times thicker than the top round ones. Bottom round is a very tough cut of meat, so I beat the hell out of the meat to tenderize it. It worked quite well, though I ended up with a blister on the side of my finger. A larger problem was that as the cut was thicker, so were the pieces of fat/gristle in the middle of the steaks. There weren’t too many and I try to cut them, but it made it harder to eat the milanesas in sandwiches (it’s not a big deal if you’re using fork and knife). I also don’t think the flavor was as tasty as the top round, but the issue might also have been the olive oil I was using.
All in all, I’d use bottom round again under similar circumstances, but at full price, I definitely prefer top round.
I’ve used this method for cooking ribeye roast (aka boneless Prime Rib) before, but as part of a bigger recipe. I figured I’d include it all by itself for easier reference. It can be served by itself or with a sauce.
These instructions are for a 6lb roast. If yours is larger, add some additional cooking time. This recipe takes a total of about 6 hours, but only about 5 minutes of actual active time.
Ribeye Roast
4-6 garlic cloves, pressed
Kosher salt
ground black pepper
dried thyme
About six hours before your serving time, remove the roast from the fridge, uncover, dry surfaces with a smooth towel, and allow to sit uncovered at room temperature for about 3 hours. This will dry the surface, giving it a good crust.
About 3 1/2 hours before serving time, preheat oven to 450F
Rub the roast with the pressed garlic. Rub with kosher salt all over the surfaces. Sprinkle with black pepper and dried thyme. Put on a roasting pan and place in the oven. Cook for 20 minutes. Turn down the temperature to 300F and cook until it reaches an internal temperature of about 130 F for a bright red medium-rare roast, about 90 minutes. Alternatively, once it reaches 125F, turn oven to 425F and cook for a few more minutes until it gets to 130F.
Remove from the oven. Tent with aluminum foil and let rest for 20 to 30 minutes before serving. Carve and serve.
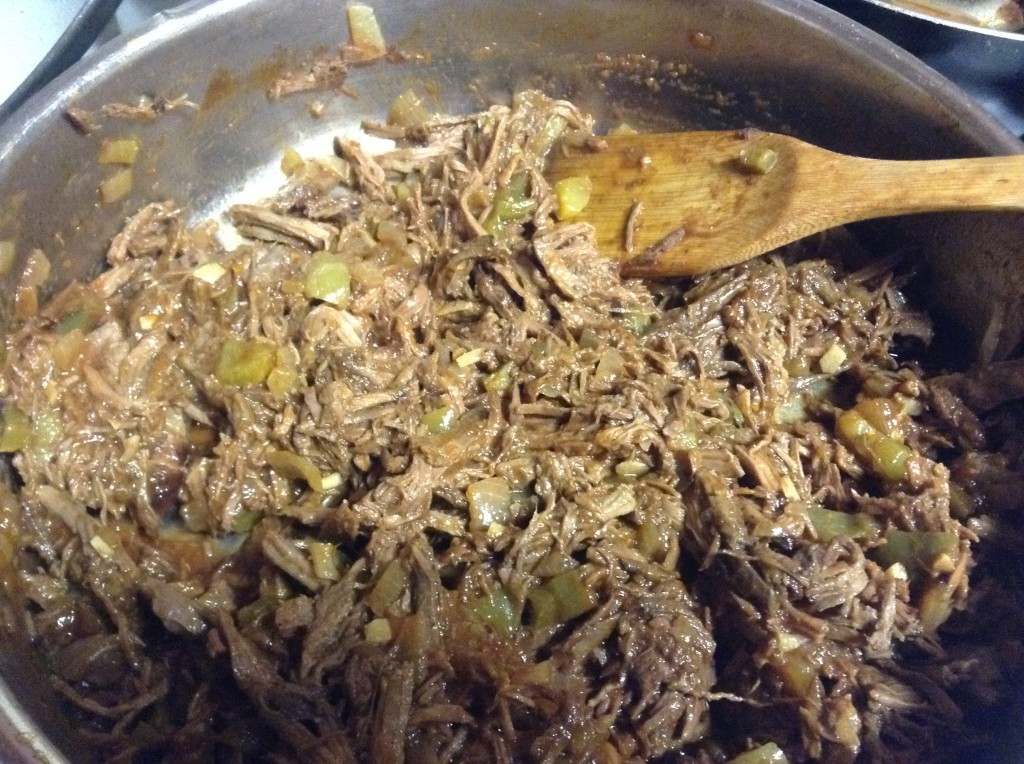
It doesn’t look very appetizing now, does it? And its name, “old clothing” in Spanish, doesn’t make it sound like something you want to rush to eat. And yet, this simple Cuban dish is as delicious as anything you’ll ever eat. It takes some time to make, but it’s well worth it.
I haven’t modified the original recipe much, but I have found that this dish is best served with sourdough bread. Lots of it.
Ingredients
3 – 4 lbs chuck roast
2 Tbsp. vegetable oil
salt & pepper to taste
2 Tbsp olive oil
2 onions, chopped
4 garlic cloves, chopped
1 large green bell pepper, chopped
2 cups tomato sauce
1 cup red wine
2 bay leaves
Directions
Pat dry the roast. Season with salt and pepper on all sides.
Heat vegetable oil over high heat in a large cooking pot. Add the beef and brown on all sides. Remove roast. Pour out and discard fat. Return pot and beef to the stove. Add 1/2 cup of water and bring to a boil. Cover, lower heat to low and cook for 2 hours. Turn off heat and let cool for at least an hour.
When the meat is cool, shred it into strips using your hands. Place in a bowl and pour the broth remaining in the pot over it.
Heat olive oil over medium heat in a large, clean lidded pan. Add the onion and garlic and cook until they start to caramelize. Add the bell pepper and cook until soft. Add the meat, tomato sauce, wine and bay leaves. Season with salt and pepper to taste and bring to a boil. Cover, reduce the heat to low and cook for 15 minutes. Uncover and cook for another 15 minutes. Taste for seasoning and serve.
After 12 years (yes, 12 years), I have finally arrived at the “Fs” in my international cooking project. And, of course, that means I must cook classic French food. Finding classic French recipes is not as easy as it sounds – I have already explored several French regional cuisines and I don’t like repeating dishes.
I was happy when I came upon a recipe for steak Diane. I don’t know why I immediately assumed it was a classic French recipe. Maybe it was the name? The ingredients? Though, as my 10-year-old daughter pointed out after a couple of bites, this dish is very close to the beef Stroganoff I’d cooked earlier in the week. In any case, I made it, we enjoyed it, and it wasn’t until I started writing the recipe up that I took a look at its origins – only to find out that it’s an American invention.
Never mind, it was pretty easy to make and the kids enjoyed lighting the pan on fire. Indeed, it lit on its own: the instructions said to tilt the pan away from you and light the alcohol with a match, but when I tilted it, I splashed some liquid on the burner (I have a gas stove) and suddenly the pan was ablaze.
The recipe I used came from the great Emeril Lagasse. The key to making this dish is having each component ready and easily accessible from the stove top. I used tri-tip as it was 1/3 the price of tenderloin, but it was too tough for this cooking method (it was better on the Stroganoff, as it was thinly sliced for that recipe). I’d like to try it with tenderloin, though sirloin might be an alternative. Instead of the “reduced veal stock” the recipe asked for, I used a combination of water/whine and stock concentrate. If you still want to have the flavor of veal, but don’t want to make the stock yourself, Cook’s Delight has a veal base. Finally, “someone” dropped my dish with the chopped parsley/green onions on the floor so I wasn’t able to serve them on the steak. Still, it was delicious.
Place the water, red wine and beef base in a small cooking pot. Cook over medium heat until the base dissolves completely, stirring occasionally. Set aside.
Season the beef with salt and pepper.
Melt the butter in the saute pan over medium-high heat. Add the beef and brown on one side for 45 seconds. Turn and cook for 30 seconds. Add the shallots and garlic and cook for 20 seconds. Add the mushrooms and cook for an additional two minutes. Remove the steak to a warm platter and cover with foil. Continue cooking the mushrooms until soft, a couple of more minutes.
Add the cognac and lit the pan on fire. Keep on the stove until the flame burns out and then add the cream and the mustard. Mix well and cook for one minute. Add the beef stock and cook for another minute. Add the Worcestershire sauce and mix. Return the medallions and the accumulated juices to the pan and turn to coat.
Before serving, sprinkle with the green onions and parsley.