
I’ve finally found a brand of macarons worth the hype
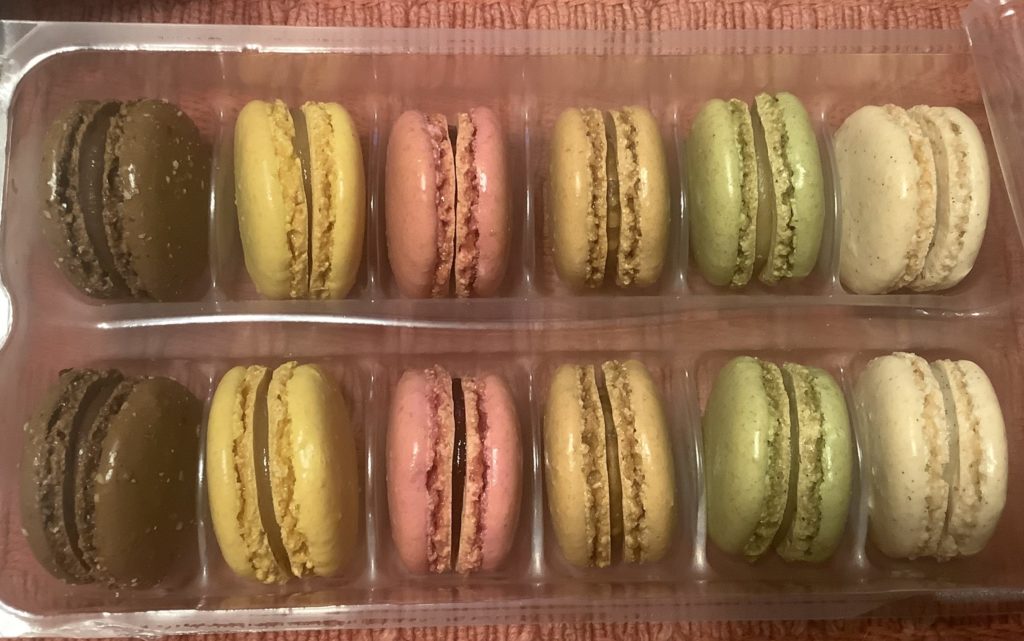
My oldest daughter loves macarons – which really the only reason I ever buy them, or eat them. I’ve tried a few here and there: frozen and fresh ones from the supermarket or specialty stores, gourmet ones from French bakeries, both in the US and in Paris, and I’ve even made them myself – but I never have really gotten the point of them. They usually consist of a too-dry-cookie with an underwhelming filling. I’ve never been impressed, until now.
I’m pleased to say that Pasquier makes the best macarons that I’ve ever had and that they are easily available and not too expensive (as far as macarons go, these are very expensive pastries to begin with). The cookies are moist while still having a bit of crunch, and the flavors of both the cookie and the filling are explosive. They are just delicious.
The macarons come in six flavors: vanilla, pistachio, caramel, raspberry, lemon and chocolate, and I can’t say I have a favorite (OK, maybe pistachio, but maybe lemon). They all hit the right spot, albeit with a tiny bit too much sweetness. They are tiny, I’d say the size of a silver dollar if I remembered just how big those were. But if you can resist not emptying the box, you do get a lot of flavor for your buck. They are made in France, they are refrigerated and you must consume them within 2 days of opening the box. I don’t think you’ll have trouble.
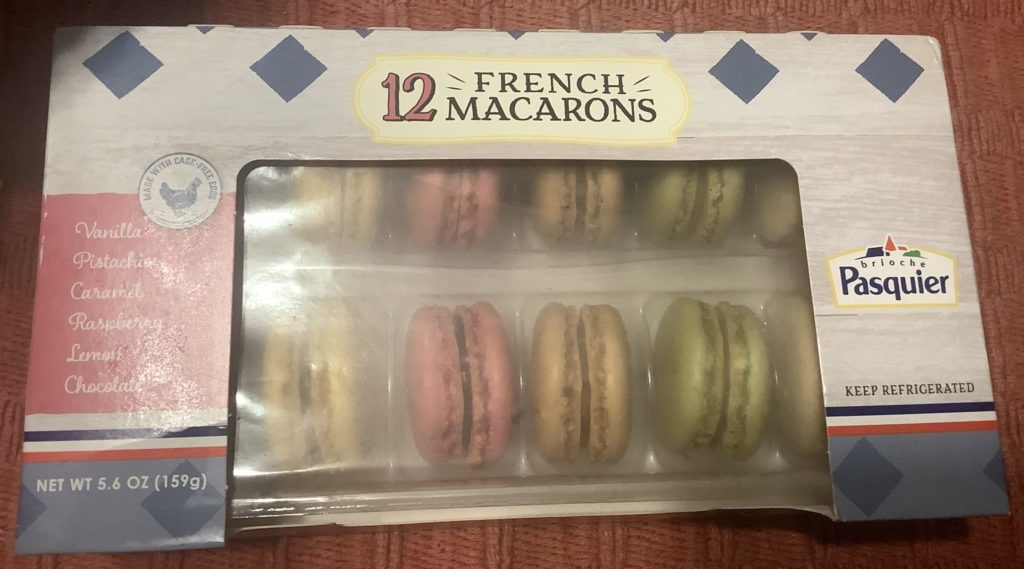
I found them at Grocery Outlet for $5 for a box of 12 (5.6 oz total), but they also seem to be available at Sprouts and Good Eggs for $7-8 and at Target for $11.
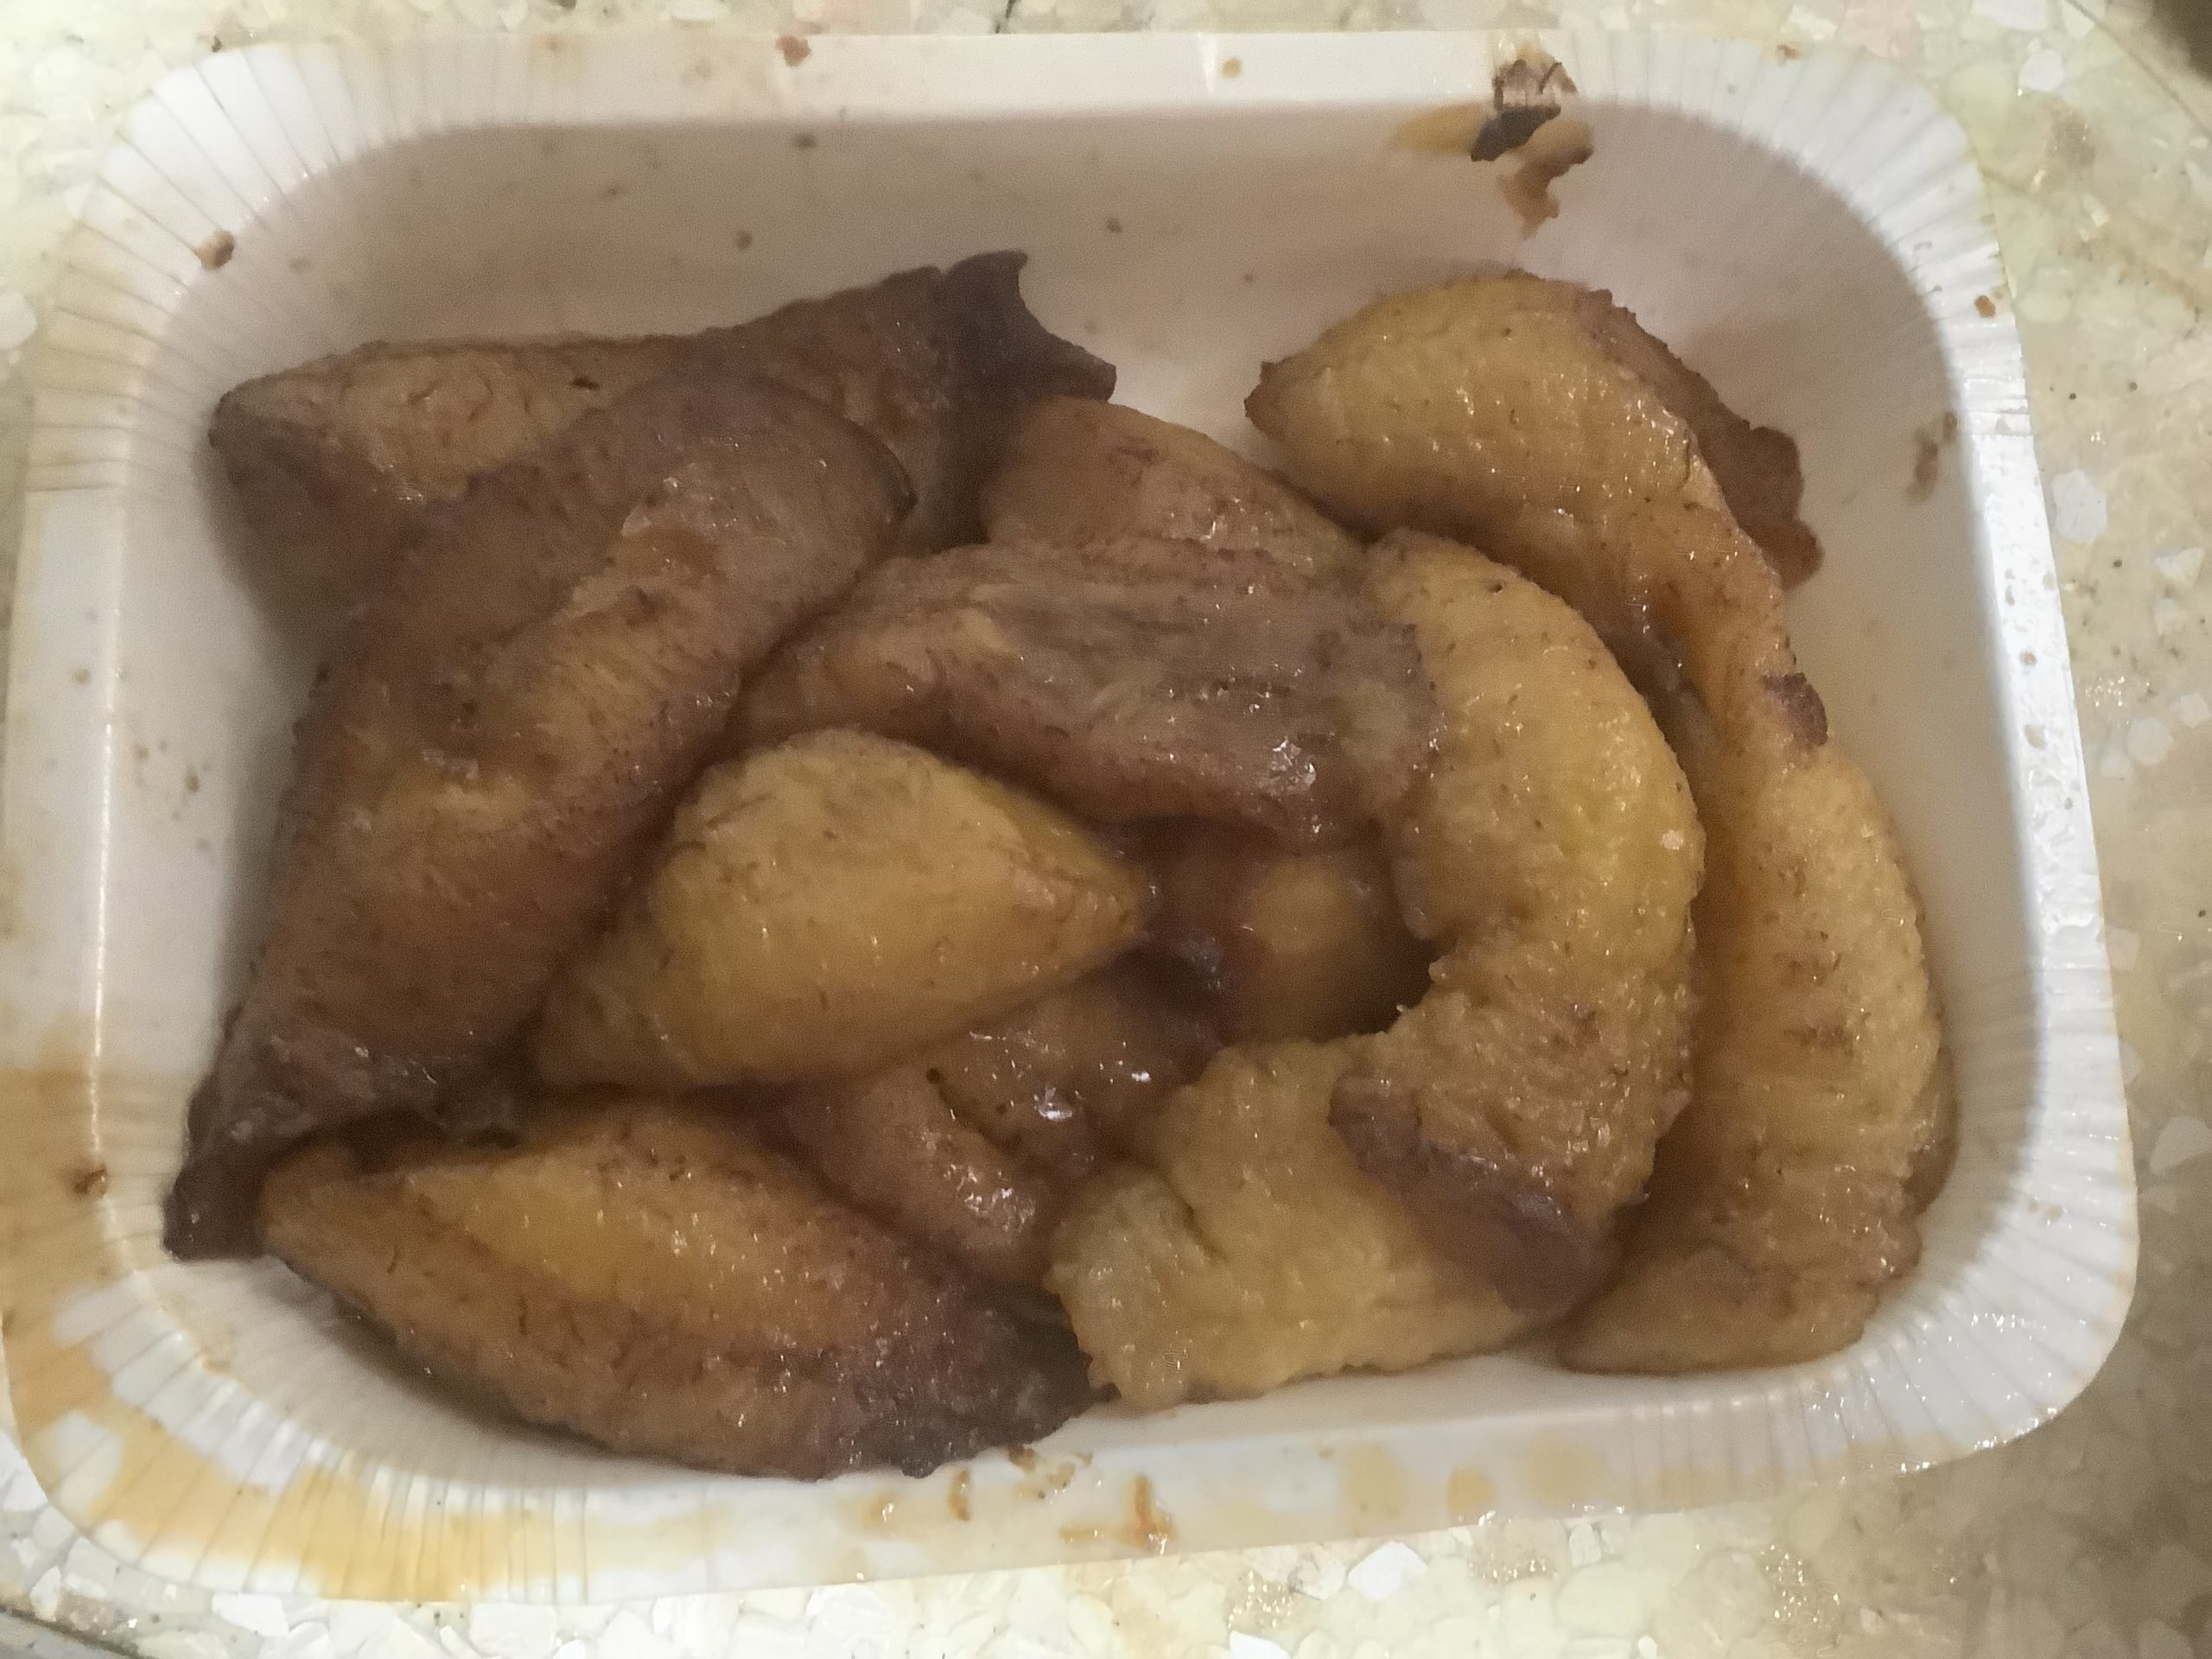
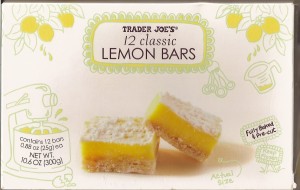 I got these to serve as the last course of my 13-course Xmas Eve dinner and they were perfect. Indeed, these were very good lemon bars overall. They come frozen, and the curd is perhaps more cream-like and less sticky than that of a regular lemon bar, but it had the right degree of balance between sweetness and sourness, and they were the perfect size for an after dinner bite. All in all very satisfying for anyone who likes lemon bars.
 This week I found Ben & Jerry’s Goodbye Yellow Brickle Road ice cream at Grocery Outlet. This “limited edition” ice cream once again reminds us of the fact that without Ben and Jerry, Ben & Jerry’s ice cream is completely lost. Indeed, how long has it been since they’ve come up with any ice cream flavors that have been successful? By now, all they seem to do is either randomly assemble flavors or play it safe and boringly. This ice cream, as most of its predecessors, is a complete failure. It mostly tastes of mediocre chocolate ice cream, sometimes of caramel, and never of anything special. No wonder it ended up at GO, for $1.50 a pint.
 I haven’t had Sarah Lee Frozen Cheesecake (original or New York) for years, but if you’ve been craving some, GO has the little ones on sale for $2. Seems like a pretty good deal.
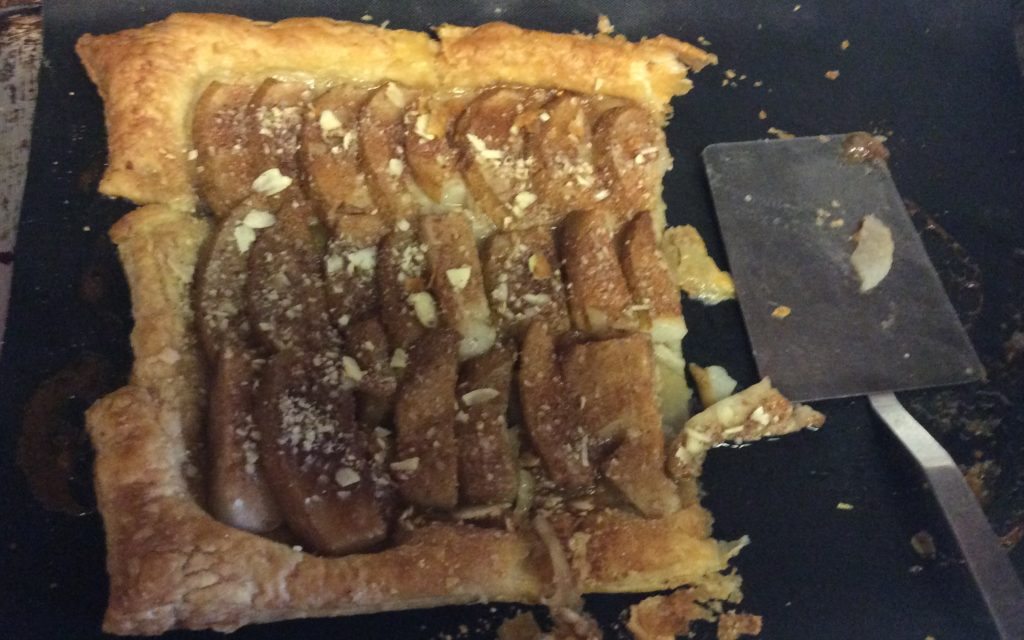
 Of greater interest to those of us planning holiday dinners and parties, GO is selling Pepperidge Farm Frozen Puff Pastry Sheets for $2 a package! These usually sell for about $6 a package. Expiration is 12/23/09 – but I’m sure they’ll be fine for Xmas dinner.